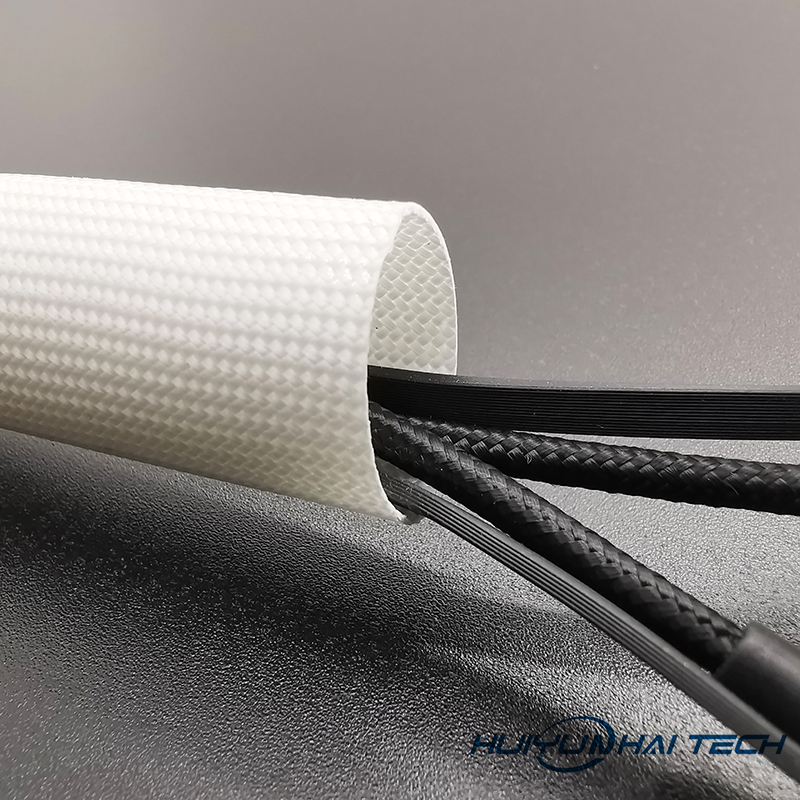
Silicone Glass Fiber Tube has the following functions in the motor coil: insulation, temperature resistance, wear protection, decoration and fixing.
Whether it is a small fan motor or a medium-sized car motor, there are more or less coils, and most of the glass fiber tubes can be seen when the coils are wound, so what is the function of the glass fiber tubes.

Our first instinct is insulation and protection. There will be wires in the coil, and putting the wires in the motor on glass fiber tubes can increase the insulation performance of the wires, and the temperature resistance of the glass fiber tubes is higher than that of ordinary wires and cables.
In fact, the glass fiber tube in the motor coil has other uses besides insulation, temperature resistance, and wear protection. That is to play a fixed role, let's look at a set of pictures:
The glass fiber tube is wound in the middle and the periphery of the coil, and the most intuitive function is to fix it. Fixed coil: to ensure that the coil or magnetic sheet does not displace due to high-speed operation; fixed wire: the glass fiber tube is wrapped on the wire jacket and then bundled, so the wire is easier to fix. The reason why glass fiber tubes are chosen is that the glass fiber tubes have higher pressure and temperature resistance levels.
Silicone glass fiber tube is widely used for its excellent electrical insulation, aging resistance, high pressure and high temperature resistance. The withstand voltage level is an experiment to detect the ability of insulation to withstand working voltage or overvoltage and to check the quality of insulation manufacturing or maintenance of electrical equipment, which requires the use of a withstand voltage tester.
1. Put the DUT on the insulating pad;
2. Use the high-voltage test line and the low-voltage test line to connect the DUT;
3. Put the power switch in the "on" position, and the voltage and current will be displayed normally;
4. Set relevant values;
5. Turn on the switch, and the test indicator lights up;
6. Slowly adjust the voltage adjustment knob counterclockwise until the alarm light is on, and record the measured voltage value;
7. Turn off the power.


